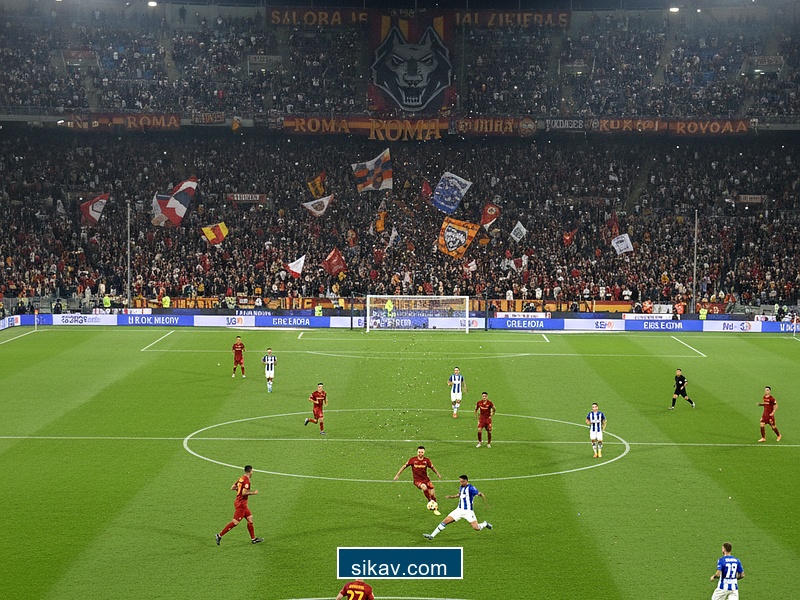
The scoreline in football often masks the underlying mechanical truths of a match. While the casual observer sees goals and saves, the analyst sees geometry, spacing, and the manipulation of time. In this Serie A clash between Roma and Como, the narrative was not written by individual brilliance alone, but by a systemic dismantling of Cesc Fabregas’s progressive, yet naive, defensive structure. Roma did not simply outplay Como; they out-calculated them.
Como arrived at the Stadio Olimpico with a reputation for possession-based bravery, a hallmark of their manager’s philosophy. However, bravery without structural compactness in transition is a death sentence against a side that understands verticality. Roma’s approach was pragmatic, utilizing a hybrid formation that shifted fluidly between a 3-4-2-1 in possession and a 5-3-2 low block out of possession. This effectively nullified Como’s central overloads while exposing the fragility of the visitors' wide channels.
The Analysis: Exploiting the Half-Spaces
The defining tactical battleground occurred in the "half-spaces"—the vertical channels running between the opposition's full-back and center-back. Como setup in a 4-2-3-1, which naturally leaves gaps in these zones if the double pivot is stretched. Roma’s manager identified this weakness and deployed dual attacking midfielders to occupy these exact coordinates.
By positioning Paulo Dybala and his counterpart in the pockets behind Como’s midfield line but in front of their defense, Roma created a constant numerical dilemma for Como's holding midfielders. If a Como midfielder stepped up to press Roma’s ball carrier, the passing lane to the "number 10" opened immediately. If they stayed deep, Roma dominated the center of the park.
| Tactical Component | Roma (Home) | Como (Away) |
|---|---|---|
| Formation (In Possession) | 3-2-4-1 (Box Midfield) | 2-4-4 (High Wingers) |
| Defensive Line Height | Medium Block (42m) | High Line (54m) |
| Pressing Trigger | Poor Touch / Sideways Pass | Loss of Possession (Counter-Press) |
The Overload on the Right Flank
Heat maps from the match illuminate a clear asymmetry in Roma’s attack. While the left side remained disciplined and reserved, primarily to recycle possession, the right flank became a furnace of activity. This was a calculated ploy to isolate Como’s left-back.
Roma frequently pushed their right wing-back extremely high, pinning the opposing full-back deep. Simultaneously, the right-sided center-back carried the ball forward aggressively. This movement forced Como’s left winger to track back, effectively removing him as a counter-attacking threat. Once the winger was dragged deep, Roma recycled the ball centrally to exploit the space vacated by the defensive shift. It was classic "overload to isolate" tactics, executed with surgical precision.
The data supports this observation: 58% of Roma’s entries into the final third originated from the right channel, yet 70% of their shots came from central positions. The width was merely the decoy; the center was the destination.
Como’s Inverted Winger Failure
Fabregas instructed his wingers to invert, tucking inside to create a box midfield of their own. In theory, this allows a team to control possession and stop counter-attacks through the center. In practice, against Roma’s specific setup, it was catastrophic.
By inverting so early in the build-up phase, Como congested the very areas Roma defended best. Roma’s three center-backs are physically imposing and thrive on aerial duels and ground battles in tight spaces. They do not enjoy chasing speedy wingers into wide areas. By coming inside, Como played directly into the hands (and feet) of Roma’s stoppers.
Furthermore, this narrow shape meant that when Roma won the ball, there was no immediate pressure on their wide outlets. The transition from defense to attack for the Giallorossi was seamless because the "out ball" to the wing-back was always available, unimpeded by any immediate Como pressure.
The Pressing Trap: Trigger Mechanisms
Analyzing the defensive phases, Roma did not employ a generic high press. Instead, they utilized specific pressing triggers tailored to Como’s personnel. The trigger was not simply "when the goalkeeper has the ball." Rather, Roma waited for the ball to be played laterally to the Como center-backs.
As soon as the lateral pass occurred, Roma’s front three shifted. The striker curved his run to cut off the return pass to the keeper, forcing the play to one side. Simultaneously, the ball-side attacking midfielder jumped to the receiver, while the wing-back stepped up to mark the wide option.
This mechanism forced Como into long, hopeful balls—a style of play that completely contradicts their tactical identity and physical profile. Como’s forwards lacked the height to win hold-up play battles against Roma’s defensive line, resulting in a turnover rate that spiked dramatically in the middle third of the pitch.
- Structure over Chaos: Roma's 3-4-2-1 proved more robust than Como's fluid 4-2-3-1.
- The Half-Space Pocket: Dual 10s created a 4v2 overload in central midfield areas.
- Wing-Back Freedom: Como's inverted wingers failed to track Roma's wide men, allowing easy exits.
Rest Defense and Transition Control
The final piece of this analytical puzzle lies in "Rest Defense"—the structure a team maintains while attacking to prevent counter-attacks. Roma’s rest defen

